Custom-Climatized, Worthington Windows Are Precision Installed In Your Home.
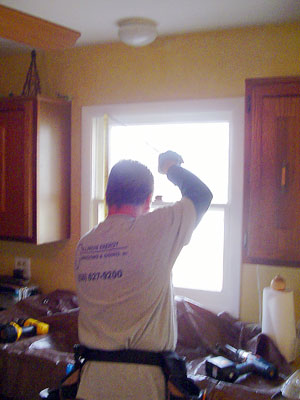
1. Measure Window
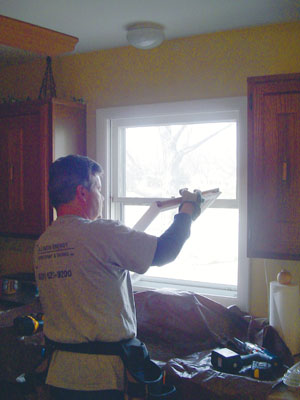
2. Remove Window
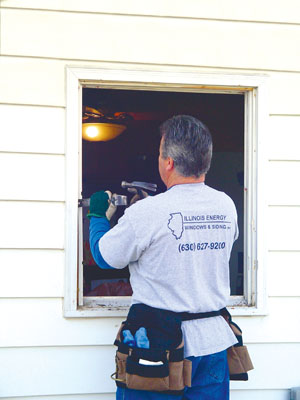
3. Remove Frame
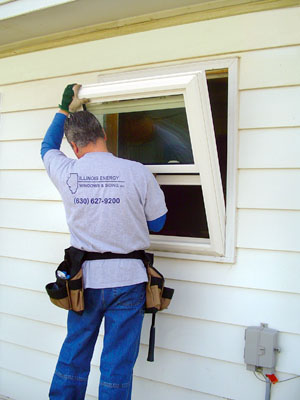
4. Install Window
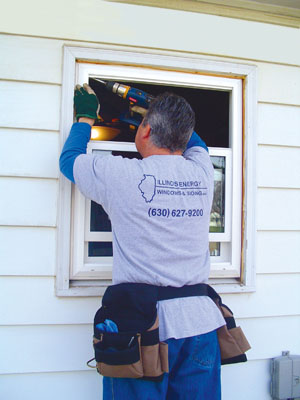
5. Screw Window
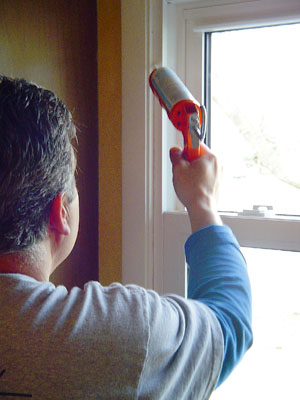
6. Caulk Interior
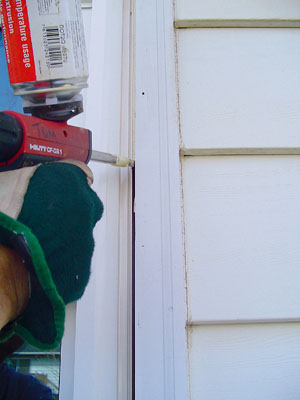
7. Apply Hilti Foam
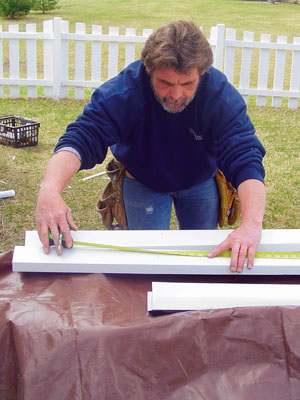
8. Prepare Capping
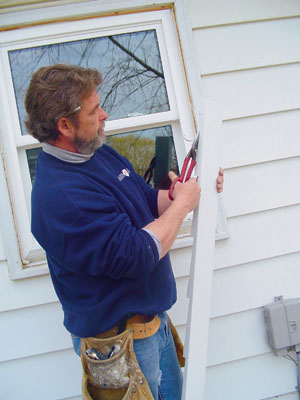
9. Cut Capping
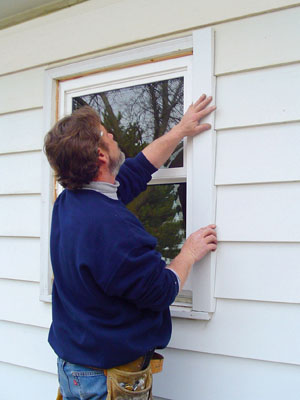
10. Check For Perfect Fit
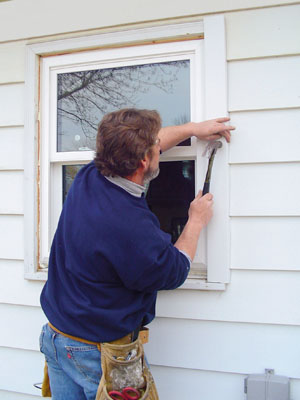
11. Attach Capping
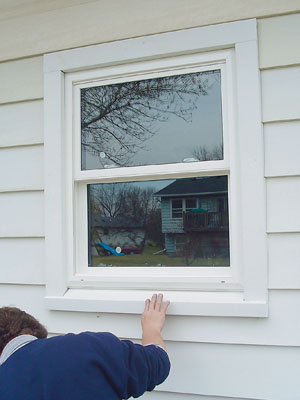
12. Finish Capping
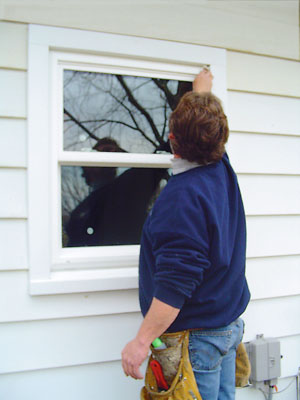
13. Clean Window
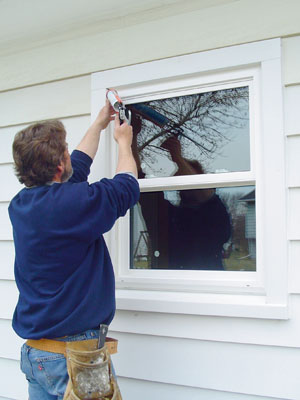
14. Caulk Exterior
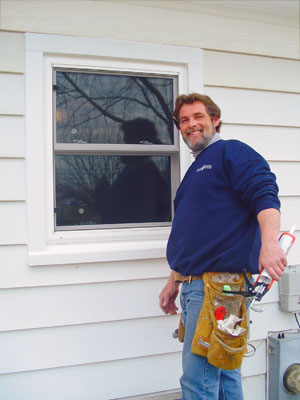
15. Finished Window
Custom-Climatized, Worthington Windows Are Precision Installed In Your Home.

1. Measure Window

2. Remove Window

3. Remove Frame

4. Install Window

5. Screw Window

6. Caulk Interior

7. Apply Hilti Foam

8. Prepare Capping

9. Cut Capping

10. Check For Perfect Fit

11. Attach Capping

12. Finish Capping

13. Clean Window

14. Caulk Exterior

15. Finished Window
At Illinois Energy Windows and Siding, we use the highest quality materials and Installers:
• Our Own Products
• Our Own Installers
• Warranty On Labor for a Real Lifetime
